How to Safely Use Bucket Water with Your Portable Pressure Washer (Filter Setup Guide)
To safely draw water from a bucket with a cordless pressure washer, attach a weighted 50-to-80-mesh stainless steel intake filter to your siphon hose, suspend it 2 to 3 inches off the bucket floor using a rim clip, and completely pre-fill the hose with water to eliminate air pockets before starting the pump.
Pre-Setup Readiness Checklist
- Inspect the filter mesh for punctures, tears, or clogged debris before submerging.
- Ensure the weighted brass or heavy plastic sinker is firmly attached above or around the filter body.
- Attach a bucket rim clip 8 to 12 inches above the filter to freeze the hose in position.
- Verify that the filter sits 2 to 3 inches above the bottom of the bucket to avoid settled dirt.
- Pre-fill the entire siphon hose with tap water to clear trapped air pockets.
- Check that the quick-connect fitting at the pressure washer inlet has a lubricated, fully seated rubber O-ring.
Step-by-Step Intake Filter Installation & Siphon Setup
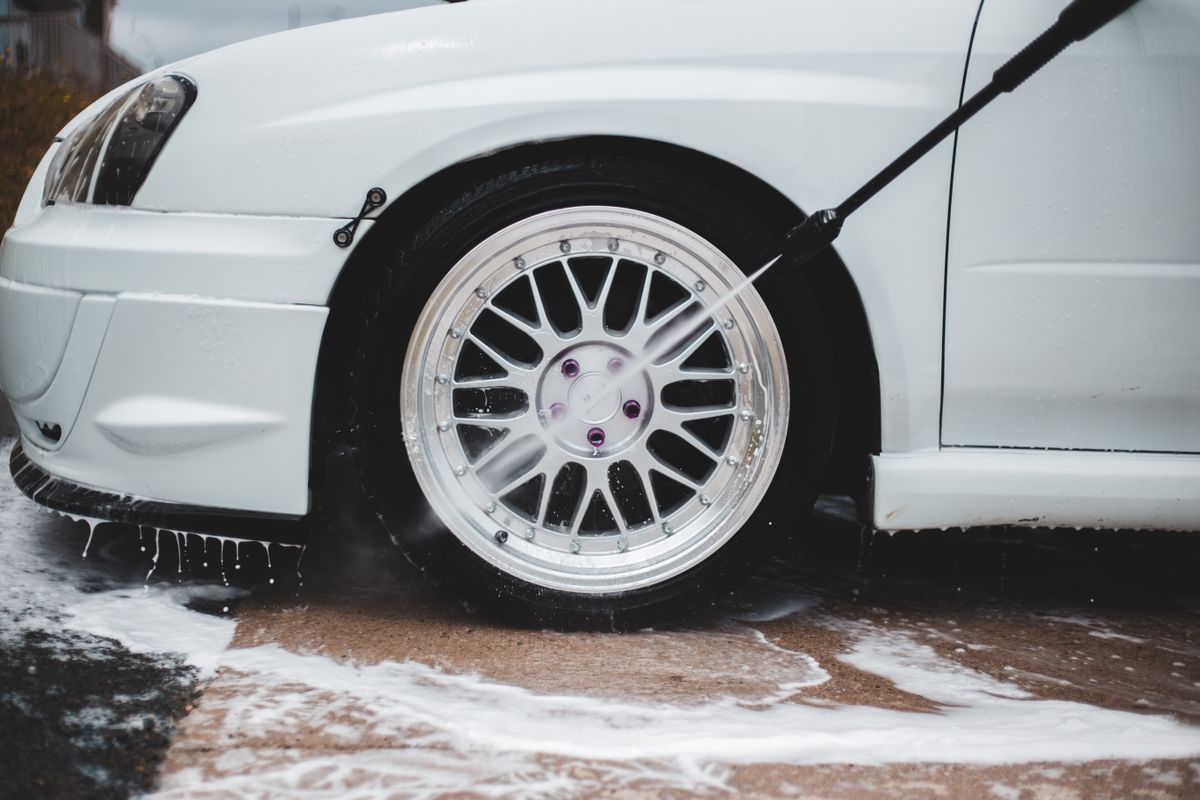
Photo by Erik Mclean on Pexels
Setting up your cordless pressure washer to pull water smoothly from a standard 5-gallon bucket takes less than five minutes. Follow these four practical steps to guarantee strong suction every time.
Expert Tip: Eliminating Hose Buoyancy and Surface Float
Flexible PVC siphon hoses retain memory from being tightly coiled in factory packaging. When dunked into a bucket, an unweighted hose naturally wants to spring upward toward the water surface. Once the intake filter breaks the surface, it pulls vortexes of air into the pump, triggering loud motor surging and erratic spray.
If you find yourself without a manufactured bucket clip on the job, thread the bottom 12 inches of your siphon hose through a short piece of 3/4-inch rigid PVC pipe before screwing on the filter. The pipe sleeve acts as an invisible down-spout that holds the hose completely straight and submerged without curling.
Filter & Suction Troubleshooting Side-by-Side Matrix
| Setup Condition | Observed Problem | Root Cause | Side-by-Side Fix |
| --- | --- | --- | --- |
| Tap Water Bucket | Motor pulses loudly with low spray pressure | Intake filter floated to surface and drawing air pockets | Attach a 4-oz brass sinker weight and clamp hose 2 inches off bucket bottom |
| Tap Water Bucket | No water flow despite motor running | Dry siphon hose trapped an air lock at pump inlet | Disconnect quick-connect, fully submerge hose to pre-purge air, then reattach |
| Rainwater / Barrel | Water stops flowing after 3 minutes | Fine algae or organic silt clogged fine 80-mesh filter screen | Back-flush filter under tap water; switch to a dual-stage 50/100-mesh outer basket filter |
| Rainwater / Barrel | Sputtering spray pattern & gritty runoff | Filter resting on bucket floor pulling settled sand | Raise bucket clip position so filter hangs 3 inches above bottom sediment layer |
Diagnose performance hiccups quickly by comparing your water source conditions against these side-by-side symptoms and direct solutions:
Interactive Tool: Bucket Siphon & Filter Readiness Checker
Use this quick interactive checklist tool to verify if your water vessel, filter mesh size, and anchoring method are safe for your cordless pressure washer pump.
Key Takeaways for Safe Bucket Siphoning
- Never allow your intake filter to rest on the bottom of the bucket where sand and heavy grit settle.
- Always pre-fill (prime) your siphon hose with water before switching on the pressure washer motor.
- Use a fine 50-to-80-mesh stainless steel intake screen to trap airborne dust and debris.
- Lock the intake hose to the bucket rim with a sturdy clamp to eliminate floating and air cavitation.
- Never pour concentrated soaps directly into your clean water bucket; apply detergent via a downstream foam bottle.
Recommended Gear: Bucket-Ready Cordless Pressure Washers
Pair your portable cleaning routine with purpose-built cordless pressure washer equipment designed for fast bucket priming and effortless mobility around your driveway and yard.
Visual Breakdown: Submerged Intake Filter Anatomy & Positioning
Photo by Nothing Ahead on Pexels
Visualizing the three internal depth zones inside your water bucket helps you place your filter in the optimal clean water layer.
5 Common Intake Filter Mistakes That Damage Pressure Washer Pumps
Avoid these five frequent installation errors to keep your cordless pressure washer operating at peak PSI for years to come:
Filter Cleaning & Inspection Maintenance Schedule
- Before Every Use — Inspect mesh screen for tears or debris buildup; verify rubber intake O-ring is soft and undamaged.
- After Every Cleaning Session — Rinse the filter cage under running tap water to wash off fine sediment; shake dry before storing.
- Monthly / Every 5 Uses — Unscrew filter housing, submerge mesh in warm white vinegar for 10 minutes to dissolve hard water deposits, and gently scrub with a soft brush.
- Seasonally / Winterizing — Check brass sinker weight threads for corrosion, replace dry quick-connect O-rings, and store assembly in a dry, sealed storage bag.
Frequently Asked Questions About Bucket Siphon Filters
Here are expert answers to the most common questions homeowners ask when installing bucket water intake filters:
Next Steps: Test Your Setup & Start Cleaning
Your decision: Decide on your primary water source (tap bucket vs outdoor water) and select a weighted stainless steel intake filter with a bucket securing clip.
Do this next: Assemble your intake hose with a sinker weight and bucket clip, pre-fill the hose with water to prime it, and submerge the filter 2-3 inches above the bucket floor.
- Read next: How to Prime Your Cordless Pressure Washer Hose: Step-by-Step Setup Guide
- Read next: Why Isn't Your Cordless Pressure Washer Sucking Water from a Bucket? Easy Fixes
Cordless Pressure Washer Kit with Weighted Siphon Hose and Dual-Mesh Filter
Now that your intake filter is properly weighted, suspended, and primed, you are ready to tackle your car, outdoor patio, or garden furniture with complete peace of mind.